
Parcel locker operations
Parcel Locker System: What Should Staff Check When a Pickup Code Never Arrives?
Evaluate a parcel locker system by tracing how it records a drop-off, matches a resident, delivers a pickup notice, and supports authorized recovery when a code never arrives.
Before you choose
Key takeaways.
- Trace carrier status, confirmed deposit, notification, and actual pickup as separate events.
- Test ambiguous addresses and stale contact details with fictional accounts.
- Set an authorized recovery process for staffed and after-hours cases.
Start with the property’s delivery record
When a resident sees “Delivered” in carrier tracking and has no pickup code, a parcel locker system should give property staff a way to locate the last confirmed step. Did the carrier leave the parcel at the building? Did the locker register a completed deposit? Was the parcel linked to the right resident? Did the notice reach an active contact channel? Each answer points to a different next action. Ask vendors to demonstrate how an operator can answer these questions with a single case from start to finish.
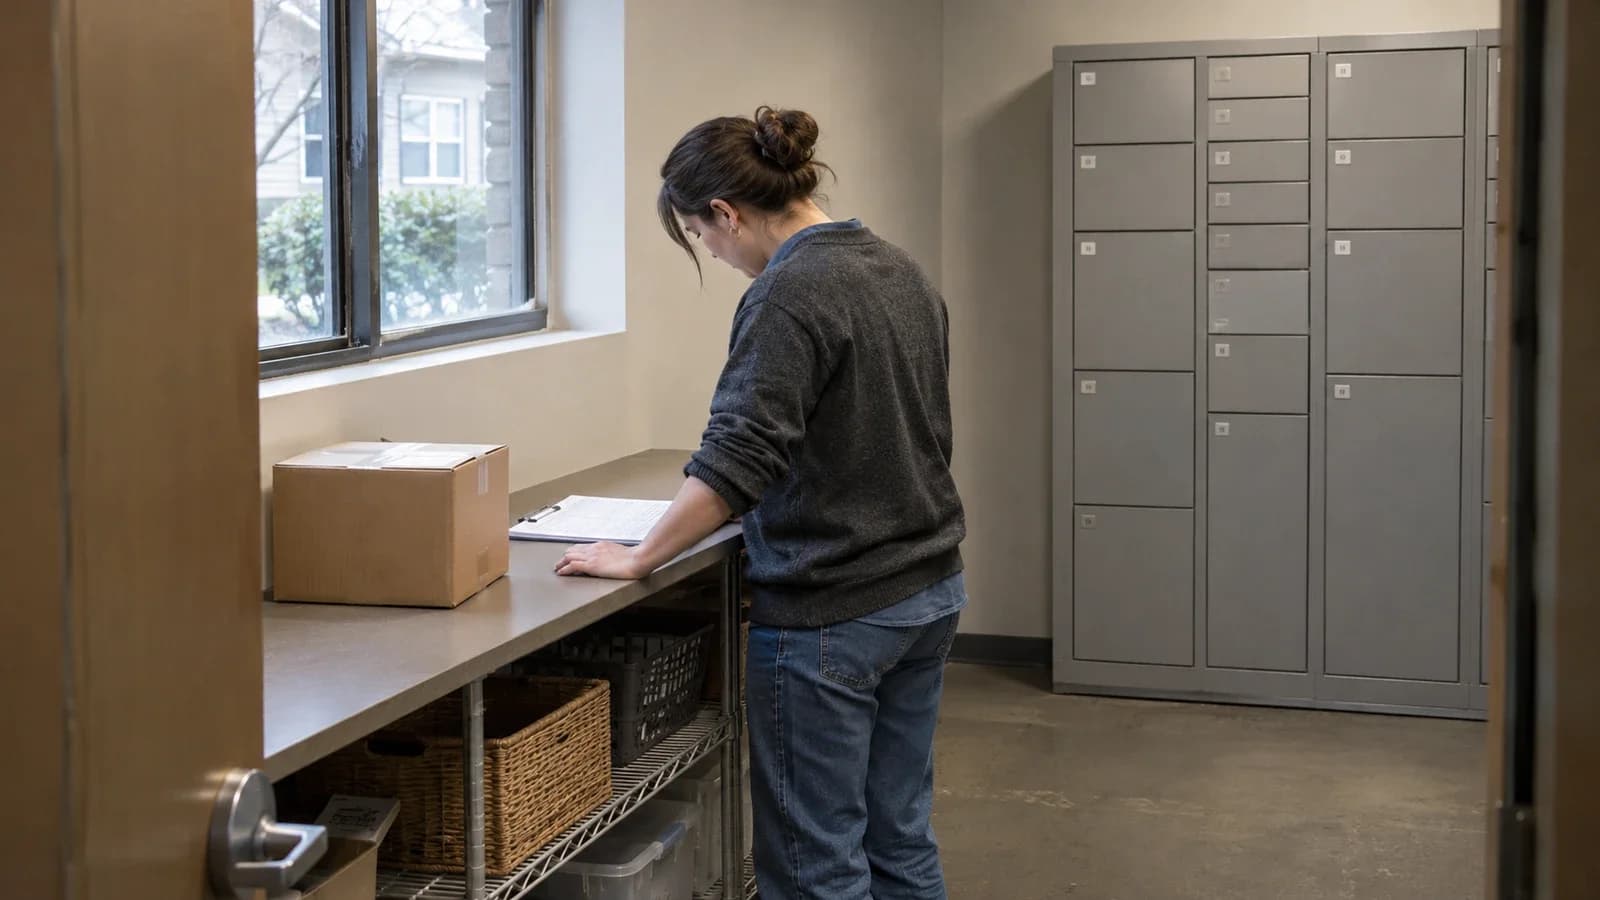
Imagine a driver marks a test parcel delivered to a multifamily property. The resident checks their email and messages and sees nothing. The afternoon desk team checks the intake record and finds the parcel in the staffed overflow area. The carrier status was consistent with a delivery to the building. The pickup instructions depended on the overflow workflow. A clear case record gives the desk team enough information to tell the resident where to collect the parcel and when the desk is open.
Verify what each event actually confirms
Ask the carrier or integration partner which delivery details the property can see and who follows up when the location is unclear. Ask the locker provider how it records a deposit and what evidence a staff member can review. A locker transaction might show when the delivery session ended and which compartment was assigned. If the evidence is incomplete, staff need to know that the parcel’s location still requires confirmation.
For each event, ask which system owns the record, how quickly it becomes visible, and what the screen shows when it is missing. A messaging provider’s delivery status can help diagnose routing. The resident’s ability to see the notice depends on the channel and where it was sent. Keep those details visible when the desk is deciding whether to investigate or arrange a verified recovery.
| Event | What to verify during procurement |
|---|---|
| Carrier marks the parcel delivered | Can the operator see the available delivery time and location detail and route a discrepancy to the right owner? |
| Locker records a deposit | Can staff trace a completed deposit to a specific delivery record and flag an interrupted or unconfirmed transaction? |
| Platform sends a pickup notice | Can authorized staff confirm the matched account, notice channel, send time, and delivery or failure status when available? |
| Resident collects the parcel | Can staff see the recorded release and distinguish that event from a notice being sent or a pickup attempt? |
Check address matching and contact routing
A delivery label may contain a building name and a unit number, while the current occupancy record uses a street address, a building suffix, and a separately stored unit. In a community with two buildings that both have a unit 208, an incomplete label should produce a case for review. Ask who handles the case, what information they use to resolve it, and where a parcel waits until the association is confirmed. Confirm how the property will handle new residents, move-outs, and changes to authorized household members.
A correct unit match can still lead to a missing notice if the platform routes the message to an old address or number. Ask which record supplies the contact details and who can update or verify it. In a demo, change the phone number of a test resident using the approved account workflow, then confirm whether the update appears in the locker platform within the agreed window. Use a synthetic undeliverable address to check what staff see when a notice fails. Make sure a fallback channel, where offered, belongs to the verified account and follows the property’s contact preferences.
Plan recovery for staffed and after-hours pickups
Define the first point of contact residents should use when the carrier says delivered and no pickup instructions have arrived. Give that team a clear way to check locker intake and any staffed parcel area. If the record leaves the location uncertain, assign someone to reconcile it with the carrier or platform support. A status update should tell the resident what has been confirmed and when the property expects to follow up.
When staff confirm the parcel and the recipient’s identity, use the property’s approved recovery procedure. It might lead to a new pickup notice through a verified channel or an authorized handoff at the desk. Specify who can act, what the case record should show, and who handles exceptions after hours. A building with no overnight staff can still give residents a support contact, a response window, and the next staffed pickup hours. Restrict case access to the people assigned to resolve it, with masked contact details where practical.
Run a pilot from carrier status through pickup
Use test accounts, dummy parcels, and fictional tracking references in a controlled pilot. Ask participating carriers and vendors to supply a test feed or simulate status updates in their approved environment. Use fictional resident records and test inboxes that the team controls. Share pilot results through case IDs and redacted screenshots so the evidence can be reviewed without exposing customer information or pickup credentials.
- Complete a normal deposit and pickup. Confirm that the expected test resident receives the correct notice and that the recorded release can be tied back to the deposit.
- Mark a test parcel delivered and route it to staffed overflow. Check that staff can see the intake disposition and give the resident the correct pickup location and hours.
- Present a label with an ambiguous building or unit. Confirm that the case reaches an assigned reviewer and that other test accounts receive no notice.
- Send a notice to an undeliverable test contact, then verify a corrected contact through the approved workflow. Check what staff can see about the failed attempt and the recovery.
- Report a missing code after hours. Check that the resident receives actionable support information and that the next shift can continue the case from its record.
Agree on recovery times and who owns open cases
Agree on measurable acceptance criteria before the pilot. Record the elapsed time from confirmed deposit to notice, the time to assign an unmatched parcel, and the time to acknowledge a recovery case. Compare the results with service windows that reflect your staffing and delivery patterns. Ask each partner to name the owner for unresolved cases at launch and to show how software, hardware, and property operations hand off a case.
Feocey's smart locker offering describes locker control boards, compartment locks, and access devices. That does not establish a delivered parcel-management platform, carrier integration, or pickup-code notification service. The parcel workflows in this guide are procurement acceptance criteria, not claims that those services are included with Feocey locker hardware. If you are considering Feocey hardware for a parcel project, confirm feasibility, the platform provider, interfaces, notification responsibilities, and delivery scope in writing. Contact Feocey. For a general method of writing acceptance criteria, testing a complete workflow including failures and recovery, and assembling a handover package, use the Feocey access hardware pilot acceptance and handover checklist. That published checklist covers access hardware pilots. It does not specify parcel locker software, carrier integration, or pickup-code notifications.
Source references
Feocey access hardware pilot acceptance and handover checklist ↗Put the guide to work
Find the reference for your model.
Compare each device with your requirements. Confirm configuration and compatibility for the complete installation.
Discuss your project ↗